Monday, 12 January 2015

Carding

An update on what I'm working on:

What I'm most excited about at the moment is some alpaca fiber. I bought some brown alpaca at the Fiber Expo in the fall.

Off the top of my head, I think it's the fleece on the right. Both brown are alpaca. I've now washed all of these fleece. The original plan was to blend the alpaca with some wool to knit a sweater. I don't want it to be 100% fleece for two reasons. 1. Alpaca is warmer than wool and I don't really want to make the sweater so warm that I can't wear it much. 2. Alpaca doesn't have the elasticity that wool does. If I made a sweater of it, it would droop over time and get out of shape.

I do have some brown wool that I can blend with it. It is also brown (Border Leicester), but a darker shade. Blending the two would, in theory, give a color between the two.

Looking at the shorter staple length of the alpaca and knowing I wanted to blend the fibers, I got some cards.
Alpaca on wool carder

Alpaca removed from wool carder

I didn't mind the process of carding. It's pretty simple and does work. I wasn't excited about the rolags I got. I like spinning worsted from top or roving. I didn't like that I had no length along the direction of the fiber. It carded the alpaca well enough but, considering the length difference between the alpaca and Border Leicester, they didn't seem to want to blend well.

I did take the rolags, rolled from one end of the card to the other, so that the fibers would remain straight and aligned, and pulled to try to end up with something similar to roving. That's when I discovered that it wasn't blended all that well. Perhaps I just need more practice.  I took to combing wool quickly and like the results I got, so that will remain my preferred method of processing washed wool.

You can see the lighter alpaca and darker wool being blended


My friend bright over a drum carder that she had rented. I thought I might like that better as I'd get something that has a length equal to the circumference of the larger drum. I could split that more easily into something similar to roving and it might be better to spin. I was right.

We ran the fiber through the carder 3 times and ended up with a nice looking batt. We did have to adjust as we went as we weren't sure how much fiber we could put on the drum carder. In the end, we had two batts with different fiber ratios. One is close to 50:50. The other is roughly 75% alpaca.


You can see the color difference between the two batts. The one on the left is 50:50, and possibly not blended quite as it could be. The one on the right is 70ish % alpaca.

The thing that bothers me about the drum carder is the amount of waste. I did get a fair amount of waste with the combs, but this seemed like even more.

I've now spun and (Navajo) plied both of these batts.

75% alpaca on the left, 50:50 on the right
I think the 50:50 could have been better blended. It spun reasonably well. I enjoyed spinning the 75% alpaca better. The next step is to knit swatches to see which I like better. I think one more thing I want try is spinning singles of the alpaca and wool separately and plying the two different singles. I'm not sure if I want to do one ply of each or two alpaca and one wool or two wool and one alpaca. I'll probably try each.

I've now rented a drum carder for the month. I just need to finish figuring out how I want to process the rest of the alpaca. Once I get that figured out, I'll be able to finish processing the fiber.

Saturday, 3 January 2015

Sand art

This was an idea I got from my sister-in-law.  My girls were playing at her house on Thursday and she had taken a tray, painted the bottom and put some sand in it. They drew in the sand with a stiff bristled paint brush.

I had been given this tray as part of a house warming gift. I could have left the bottom unpainted, but I thought the girls would like some color. If I had known how the finest bits in the sand lightened the paint, I would have gone with a darker color. I did have painter's tape so I used that to tape the sides to keep them paint free.


Cordelia asked me to write her name. Then she asked for mine, then Valerie's, then Daddy's. I then drew a heart. She said "Draw my heart. My heart very big!" That made this worth the work to paint it right there.

The girls have been having fun playing with it. The problem with this sand tray is the holes for the handles. The sand likes to exit there. I tried putting packing tape over them, but it didn't stay stuck. I still need to come up with a solution for this. I could put the painter's tape over it, but that wouldn't look very nice.

One of the nice things about this project is that it was inexpensive. The tray we had, the paint is just craft paint. I bought the big one as I didn't think one of the small ones would be enough, so the paint was almost $2. The sand is the fine craft sand, so it was originally $7 for a bag. I had a 50% off coupon, so it was only $3.50. This is a small portion of the bag, which is good because I suspect we will have to add to it somewhat regularly. I also used paint brushes that we already had. The bristles aren't as stiff as the ones that my SIL had, but they work.

Monday, 29 December 2014

Marshmallows

Last night's (and this morning's) project was...marshmallows

Friends have been posting the link to a marshmallow recipe and talking about how home made marshmallows are better than the ones from the store, so I thought I'd try it.

This is the recipe (Alton Brown usually has good recipes)
http://www.foodnetwork.com/recipes/alton-brown/homemade-marshmallows-recipe.html

I thought I'd taken pictures of the marshmallows last night after I piped them out, but I don't see it so I must not have. I've been having problems with the camera on my phone.

The recipe was easy to follow and seems to have worked. Piping them out was a mess. The first bag full was fine, but it got sticky from there. Perhaps next time putting it into a ziplock where more will fit or I can use a second would be better. The piping is my main complaint about this recipe. I know I could have spread them in a pan and cut them later, but I wanted to try mini-marshmallows.

The other thing I tried was making shaped marshmallows. This mostly didn't work. I have silicone molds that I sprayed and dusted with the corn starch and confectioners sugar, but between the mix clumping and distorting the marshmallows and not completely coating the mold so that the marshmallow stuck in places, most of the molded marshmallows failed rather miserably.


The top are the piped and cut marshmallows. Across the bottom are gingerbread man, snowman, owl, a couple hearts, another gingerbread man and a cat. 

The marshmallows taste good. I had food coloring so I added a bit of purple, so the marshmallows are purple. Are they worth the work, perhaps. 


Sunday, 26 October 2014

Fall means applesauce

Last year was my first year making applesauce. My older daughter, Valerie, would specify "applesauce that  you made" so she would get mine rather than store bought. My younger daughter is somewhat indifferent. If I send applesauce in her lunch, she'll eat a few bites, but that's about it. Valerie will eat the better part of a pint if I let her.

Last year I bought apples from a local farm that we picked ourselves. It was rather expensive. I also bought some at the local grocery store for $0.59 a pound. It was a bit sad that I could buy them at the grocery store for less than what we paid to go pick them. Mainly I wanted to give my girls the experience of picking apples.

Valerie wanted to pick apples again this year so we picked a half bushel (for $17).
I knew I wanted more apples than that but a coworker had let me know about another farm where I could buy seconds (perfectly good apples for applesauce, but not perfect apples) for $16 a bushel. I think I ended up with two bushels. I ended up with a half bushel each of Liberty, Empire, Gala and honey crisp, I believe. I also bought some at the grocery store for $0.54 a pound. Those were Macs, Jonagold and Jonamac and probably a few others as the girls were randomly picking out apples. I do like that all the apples I used last year and this year were all Michigan apples. Michigan sure has tasty apples.

This year I invested in an apple peeler. I always doubted how useful they would be, but I saw the error of my ways this year. My girls were able to help me peal and with me putting the apple on the pealed and taking the core off. Cordelia could peal 3 in the time it took me to do one. I stopped pealing apples with a knife. Even when the girls weren't helping, I used the apple peeler. All I had to do was break up the spiral sliced apple in the pot, which was easy.

I have apples to make one more batch of applesauce, but I don't think I'm going to can it. I canned probably 27 quarts of applesauce this year. That's quite a bit more than last year.  Last year I put it all in pints and half pints. That was a mistake. The girls could easily polish off most of a pint, so the half pints were a single snack and hardly that. This year I put quite a bit in quarts, but I also did some pints. I ended up with a couple half pints as well because I had more applesauce than clean jars on the last batch.

My recipe for applesauce:

As many peeled, cored, and sliced apples as will fit in my pot. It's big but not huge.
A half cup of sugar, mainly to keep the first ones in the pot from turning too brown while I was peeling the rest. I ended up with about 4 quarts of applesauce, so that isn't much added sugar per serving. Did it work? Who knows.
Cinnamon to taste. This is usually a fair amount. I add some then stir and taste. I like my applesauce cinnamony.

I cook it until it looks like quite lumpy applesauce. I use a potato masher to break up the pieces to be a bit more bite size. Some people will purée it, but I like my applesauce lumpy.

I put it in the clean jars, lid them and then process them in a water bath. I do 15 minutes in the water bath for all sizes as I'm hot packing and usually have a couple different sizes in the bath and figure that a bit of extra time won't hurt.

I also tried a batch of apple butter this year. I made it like my applesauce, but I puréed it, added cloves and nutmeg and simmered it for a long time.

The applesauce puréed to be made into apple butter.
The apple butter ready to be put in jars.


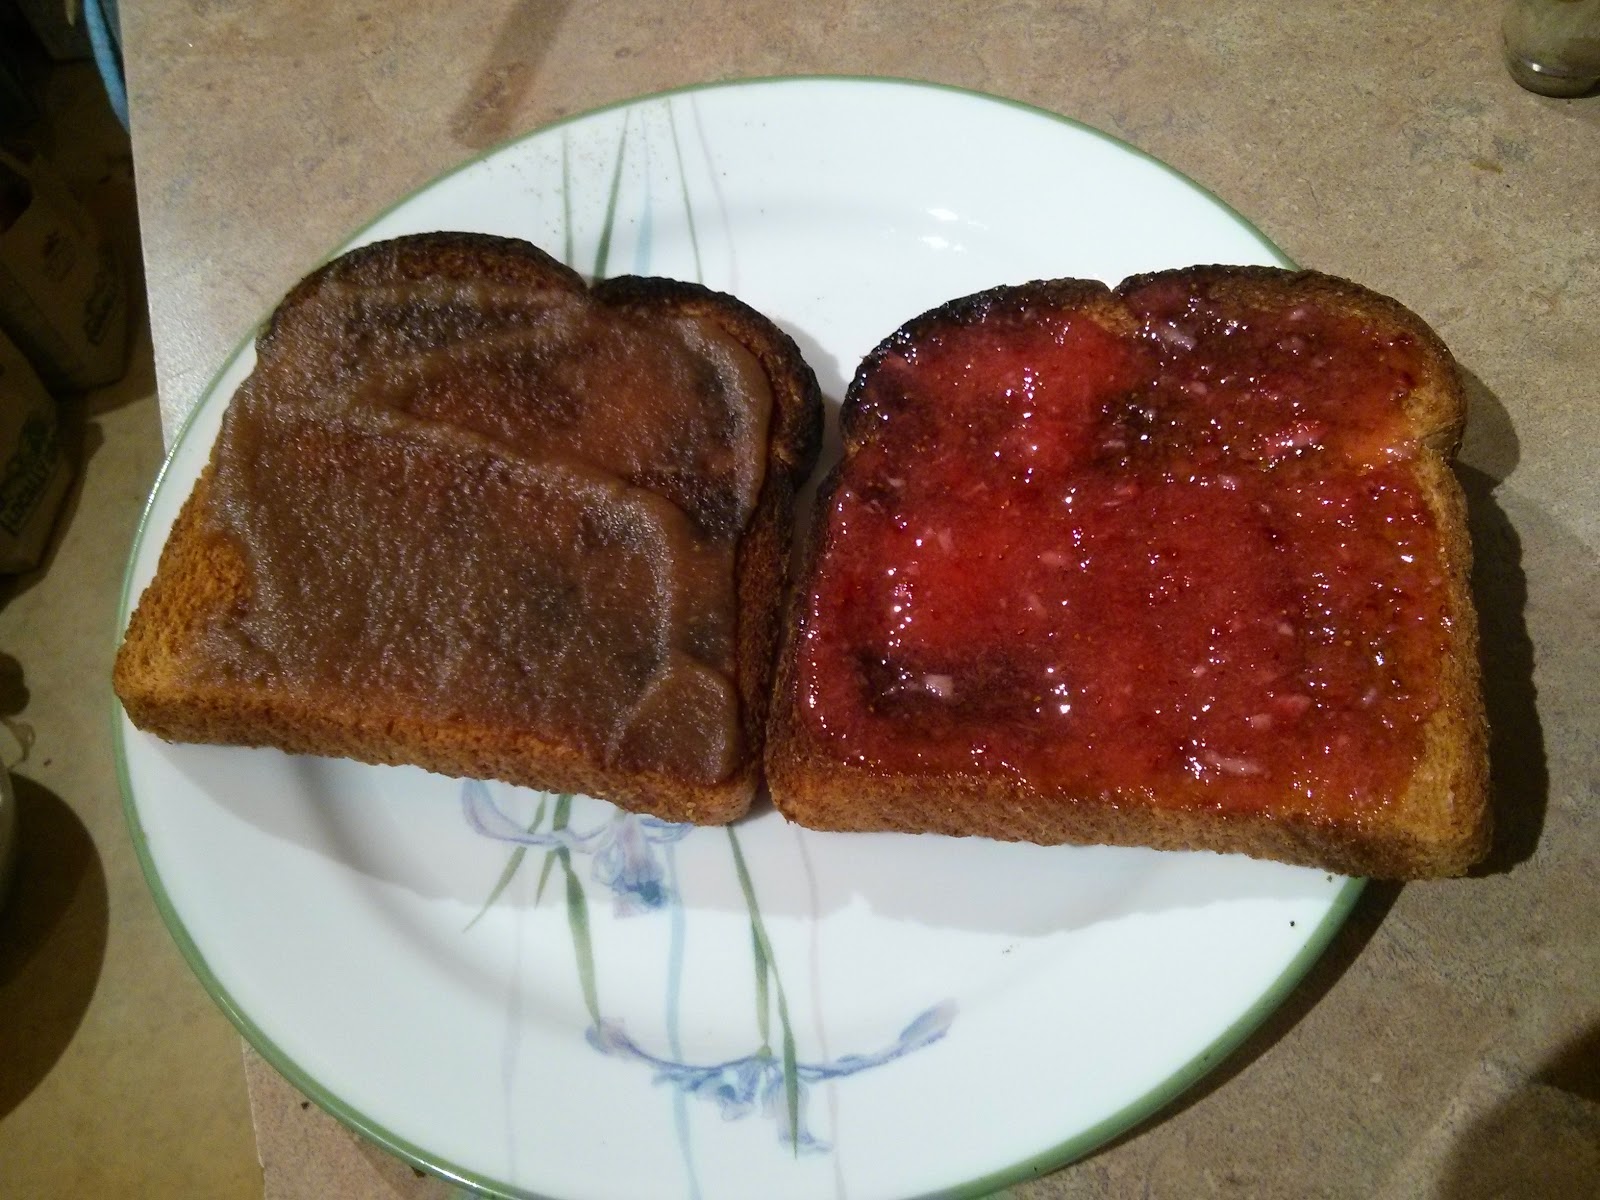
Here it is on toast. It was quite tasty, but I do not believe it will become a favorite of mine on toast though. The slice on the right has strawberry freezer jam on it. That is my favorite.


Our house was built in 1928. It has a pantry built under the stairs in the basement. I love putting stuff I've canned in that pantry. Right now it has a fair amount of applesauce, mulberry jam, blueberry jam, peach jam, apple butter, and maple syrup in it, along with some store bought stuff. This makes me a happy Michelle

The final product. Apple butter in the half pints. Applesauce in the pints and quart.

Friday, 10 October 2014

New toys

My new toys arrived today:
My husband declared them to be "terrifying".

As I mentioned in my last post, I had purchased a raw fleece. It was this gorgeous brown. I started combing it.

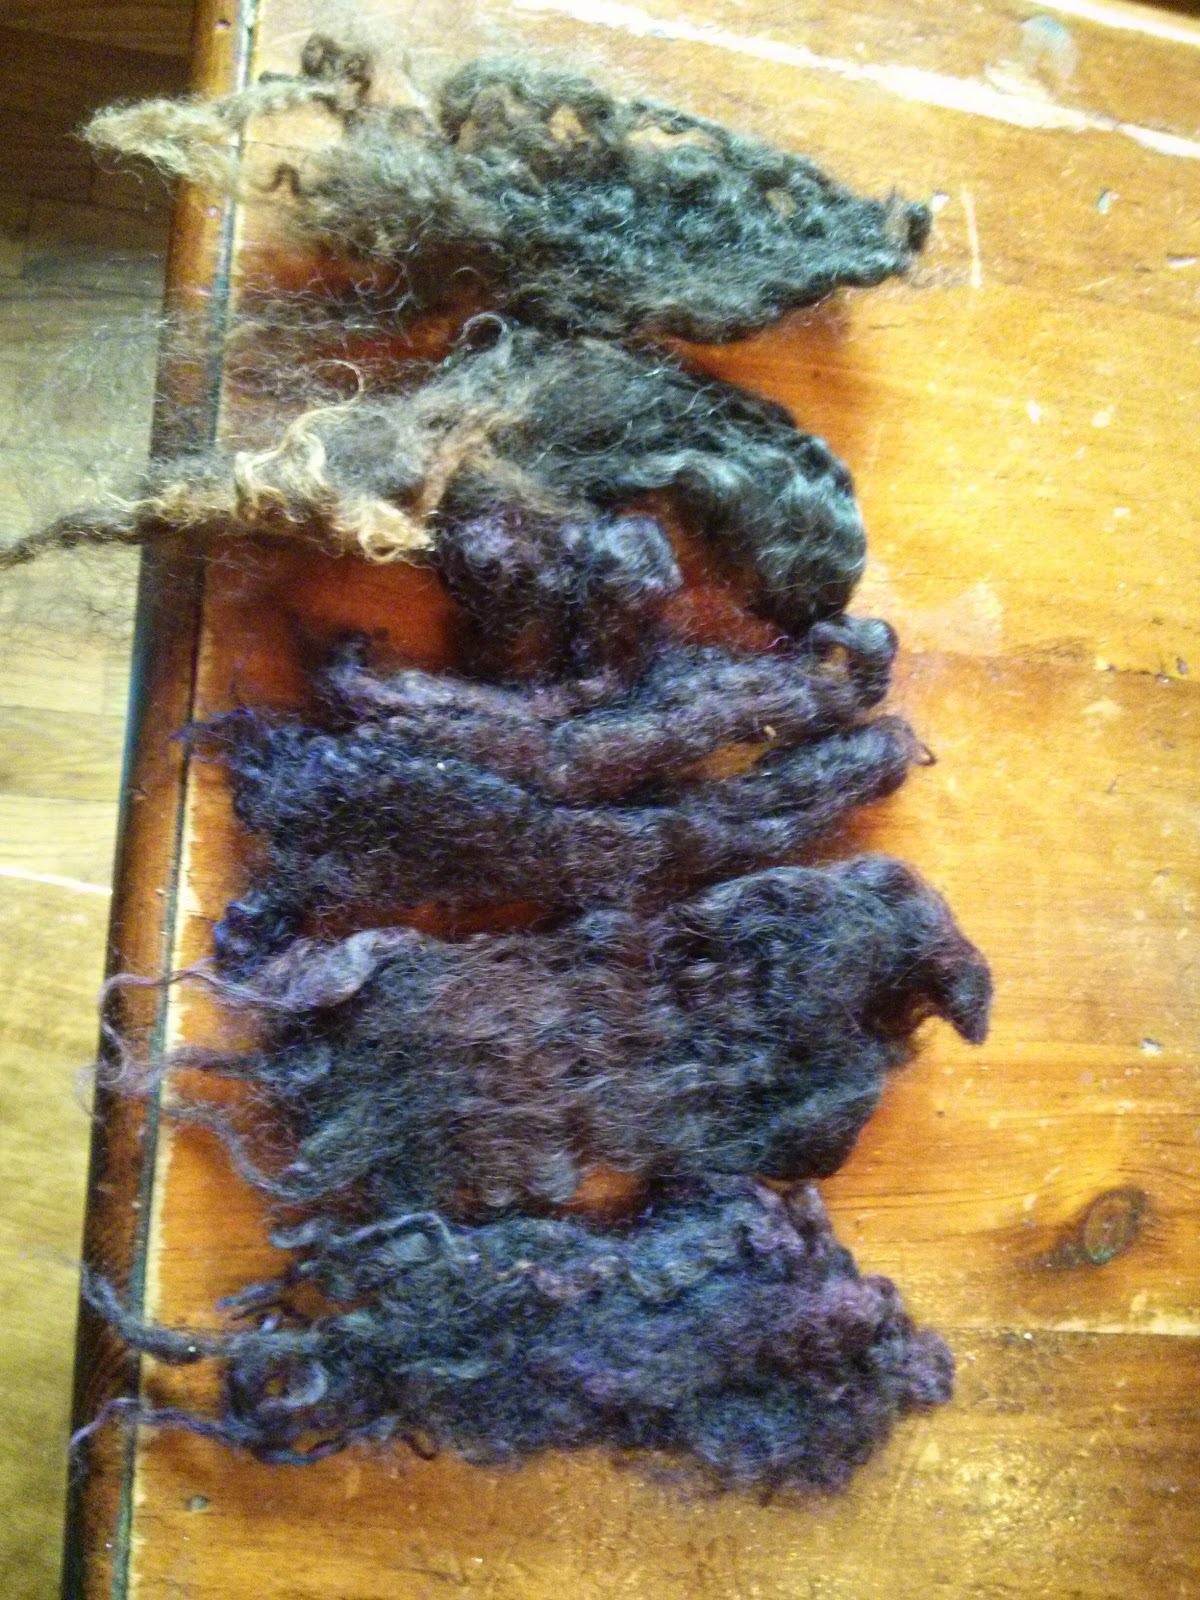
This past weekend at a crafting weekend, which will need its own post, we did a bit of dyeing. I threw some of this fiber in the dye pot after the original fiber was taken out. It turned a beautiful, rich purplish brown.
The top two locks are undyed. The bottom are dyed. I wanted more of this color...although the picture doesn't do it justice. 

The dye is Wilton icing colors. The nice thing about using this as a dye is that it is (obviously) food safe, so I didn't need to worry about what pot to use. 
The down side to this dye, as we found out later, is that it breaks easily. By "breaks", I mean it breaks down into the component dyes. The original ball of yarn has red on the outside and blue on the inside because the blue traveled farther. 

The fabulous part was what it did to this skein and to some fiber that Carol threw in the pot with my fiber. 

The fiber on the right is undyed...in case you couldn't guess. The tips caught the purple/blue where the rest ended up a fabulous pink.

With these results I wanted to try to get more of the purple. I bought some dye of my own and put it all (one container of dye) in my large pot I use for water bath canning and let it heat up. I added as much fiber that would fit reasonably in the water and let it sit for a half hour. I rinsed the fiber and refilled the pot with more fiber as there was still color in the pot. The first batch of fiber came out a nice purplish for the most part, as expected.

I was a bit...surprised by the result.

The farther table has the fiber from the first batch of dyeing. The closer table has the second batch of fiber. It's...green. 

I guess what happened is that the first batch took up all the red/blue and what was left was green. According to a friend, certain dyes are notorious for breaking. Dyes that contain Red dye #3, like this violet dye, tend to break. 

I've combed some of the green dyed fiber and it is less green after dyeing. The tips seem to have most of the color and they come out in the waste. 

The interesting thing about dyeing this fiber is that it seems to be softer after dyeing. Now that I have my new toys, I'll continue combing and see what I end up with. It could be an interesting hat as now it seems like it might be soft enough. I look forward to spinning this, but I haven't done any yet. 

Working with this fleece has made me want to process another raw fleece. I think what I might do with the rest of this is try dyeing it with kool aid. I will try a small batch and see how it turns out. I think the purple over the brown is beautiful and the kool aid allows me to do it in my kitchen without worrying about toxicity. This fleece may end up being about playing with overdyeing the brown. If I like the kool aid purple enough, I may do the rest of it like that and make something larger. Carol also mentioned that it could be used for striping with another color...or the natural fiber. 

In two weeks is another local fiber expo. I think I'll go solely for looking for another fleece or two to process. I didn't think I'd like this so much. 

I had been using a couple combs that I bought at Meijer. At the craft weekend, I got my hands on some proper wool combs. They were so much better than the hair combs. After using them a few times, I decided I needed my own set. 

This post got a bit side tracked. I think I'll try another post about combing. I'll have to get some pictures of the process.

Monday, 22 September 2014

Wool

So...this weekend was the local(ish) fiber sale.

Here is most of my haul:
The haul

This is all for needle felting. The white is for bases. It's less expensive than colors. I figured the browns will be good for animals and I'm doing Toothless, so I need black. The orange on the bottom is for pumpkins. The rainbow will be for various projects. I saw these colors and couldn't help it. I found a tutorial for felted bracelets with a knitted base and needle felted design and thought that the girls would like one with a rainbow on it.

I also bought a 32" size 4 needle as they don't seem to be easy to find in wood. The price was reasonable.

Here is the one last thing I bought:

Wet fleece
Fleece info. 
That is most of a 6.25 pound fleece that I bought. It is Border Leicester, which has a long staple and a nice crimp. The tips are bleached and overall it is a gorgeous color.
I learned something important today. If I want the wool to dry outside, I need to start washing before 2 pm (the morning was busy today) as I didn't get it outside until almost 5. It didn't dry all that much.

Cordelia checking the wool
I moved it to my craft room in the basement. That's where I took the above picture. Not included in the picture is the first batch of wool that I washed on Saturday in my small utility sink. The fleece on the floor was washed on Sunday and is mostly dry.
When the wool was on the back porch, it looked like a sheep had exploded on the porch.

Thankfully the craft room is where the dehumidifier is located. I turned it up to max so hopefully it won't take the wool too long to dry. I won't be able to put it back outside as I have to work the rest of the week. I'll go down tomorrow and turn it.

I started combing the first batch. It matted a bit. I tried to be careful with it, Perhaps this amount of matting is normal. I think it's combing reasonably.

Ready to comb
I don't have wool combs, but I was told that I could use wide tooth combs. I found these combs at Meijer. They have two rows of teeth just like the wool combs and seem to be doing OK. I've only done a small amount. I won't mind doing it, but it will definitely take time.

Combed wool

 The bottom bit is fresh off of the combs. The top was rolled into a little "nest"


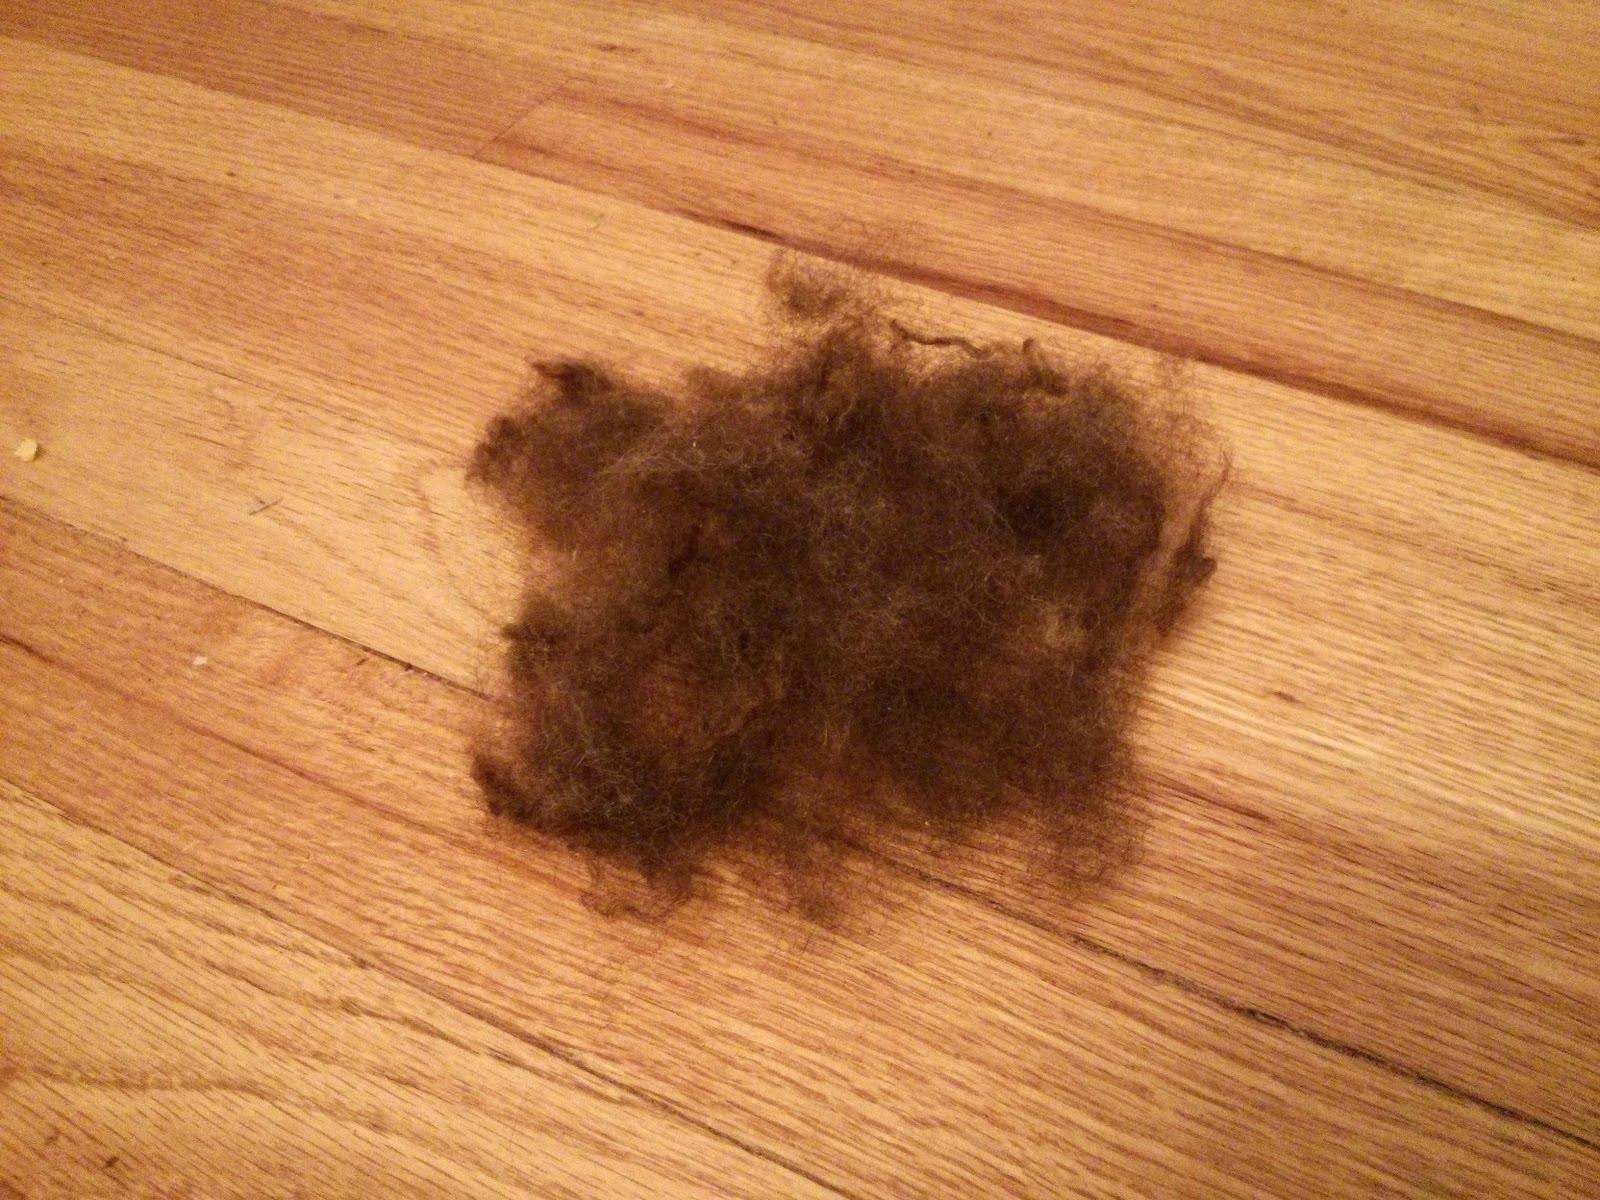
"Waste"
I was surprised by the amount of waste, but I do think that I was better at minimizing this with the later combings, so perhaps it won't be too bad. This "waste" can be used for stuffing and needle felting, so it won't really go to waste. I am curious, though, to see what percentage the waste will be. I plan to weigh the combed wool and waste when I'm finished. I didn't weigh the wool as it came so I'll have to trust what it said on the label for a starting weight.

Wednesday, 23 July 2014

Jacket

I really need to get a different picture of this. I am wearing shorts. It just doesn't look like it.

The pattern is Jacket with cables and garter stitch in "Eskimo" by DROPS

http://www.ravelry.com/patterns/library/117-51-jacket-with-cables-and-garter-st-in-eskimo

This is the second DROPS design I've done. I like both of them. The first ended up too long, but I still like it. The second, since it seemed like it was going to be too long again, I shortened by over 2 inches. It still turned out kind of long. I suppose it is supposed to be long since it's supposed to be a jacket.

It is made with bulky yarn. I used Lambs Pride Superwash bulky in Bayou Blue I had purchased from Little Knits a short while ago. I knew I wanted to do a cardigan in bulky yarn, but didn't have a specific pattern in mind when I bought this yarn. I did a test gauge piece on size 10 needles (12 stitches over 4 inches) and size 11 needles (10.5 stitches). The pattern calls for 11 stitches over 4 inches, so I used the size 11.

I started this sweater June 20th on the train to Chicago for a meeting for work. I finished it July 20th. That's when I assembled it. I had finished knitting it several days before and it took a couple days to get around to blocking it and 3-4 days to get it to dry completely after blocking.

This was the first time I tried blocking a sweater in my craft room. The room is in the basement, but there is a dehumidifier in there. I don't know if it was the weight of the yarn or the location that made it take so long.  It looked massive all laid out on the floor (before assembly) but it seems like it fits nicely.